Last updated: 2026/8/4
Posting times: post on predefined days and times
Posting times allow you to easily add scheduled posts at pre-registered days and times. This section explains the steps to add, configure, and delete posting times.
What Are Posting Times
When you add posting times, they will appear on your Scheduled posts and Calendar screens at fixed days and times each week, eliminating the need to manually specify the date and time for each post.
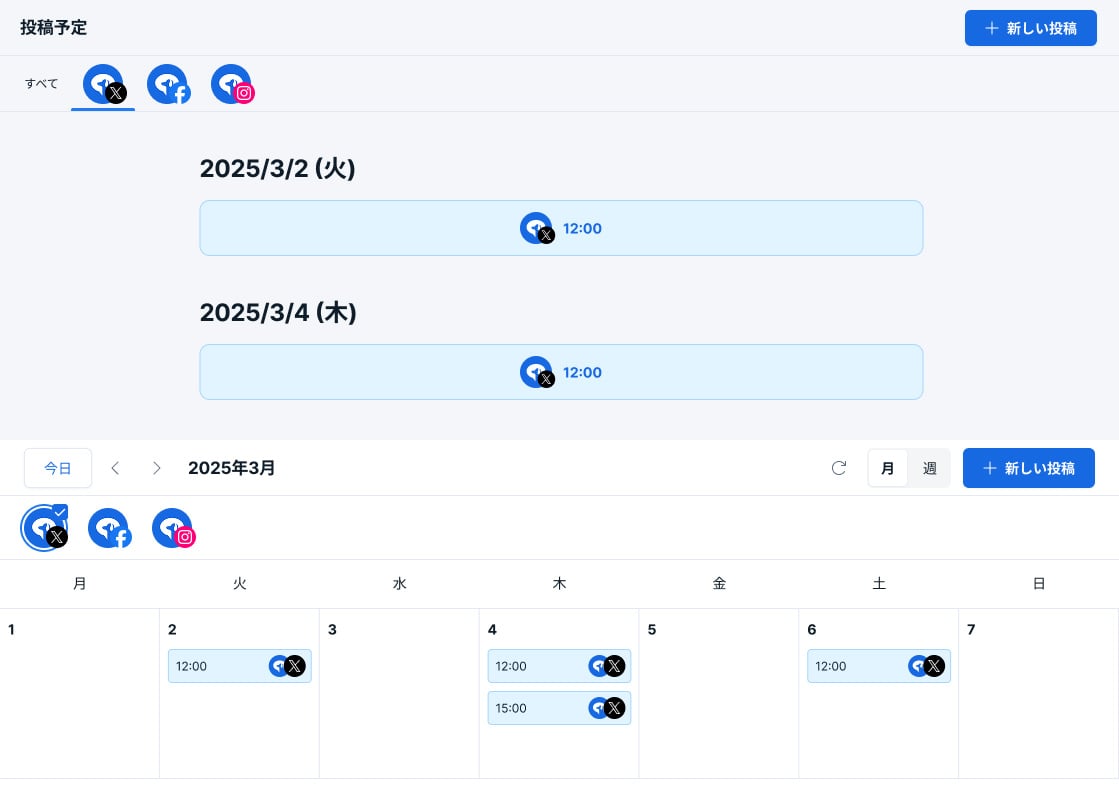
Posting times are for registering only days and times. Post content must be added to the posting times as needed.
Add Posting Times
- Open [Post] → [Posting times].
- Click [Add posting time].
- Select the desired day and time for your posts, then click [Add].
To set multiple posting times, select the day and time and click [Add] each time.
Add Posts to Posting Times
Posts added to posting times will be automatically posted in order from top to bottom at the scheduled posting time. You can set scheduled dates up to one year in advance.
Add Posts to Available Posting Times
- Click [Post] and select [Scheduled posts].
- Click [New Draft] and enter your post content.
- Click [▼] and select [Add to queue].
- Click [Add to queue].
Add to Front of Queue
- Click [Post] and select [Scheduled posts].
- Click [New Draft] and enter your post content.
- Click [▼] and select [Add to front of queue].
- Click [Add to front of queue].
Delete Posting Times
Delete Individually
- Click [Post] and select [Posting times].
- Click [×] for the posting time you want to delete.
Delete All
- Click [Post] and select [Posting times].
- Click [Delete all posting times].
- Confirm the message, then click [Delete].